
The purpose of this post is to help you prepare your tracks for the best possible LANDR master, however these rules generally apply to all mastering techniques.
Before beginning, lets define what mastering actually is. Mastering is a form of audio-processing that transfers the source signal onto the required audio storage format in the optimal way. In our case the required audio storage format is a 16-bit 44.1KHz wav file. The mastering process is intended to make your mix sound as good as it possibly can within that wav file. This does not mean that mastering will fix any problems that exist in your mix, or that it will improve the sound quality of your mix, it simply means that it will attempt to present the sound that already exists in the best possible way.
DYNAMICS AND MASTERING
Mixes that are dynamic and have a lot of transient activity sound better, punchier, groovier, less fatiguing, more interesting, and exciting to the ear. Remember that volume within a track is relative – if every sound within your track is at maximum volume then each sound is going to have less impact than if the sound before it was quieter.
Leaving room for dynamics in your mixes is easy — the key is understanding transients and headroom.
WHAT ARE TRANSIENTS?
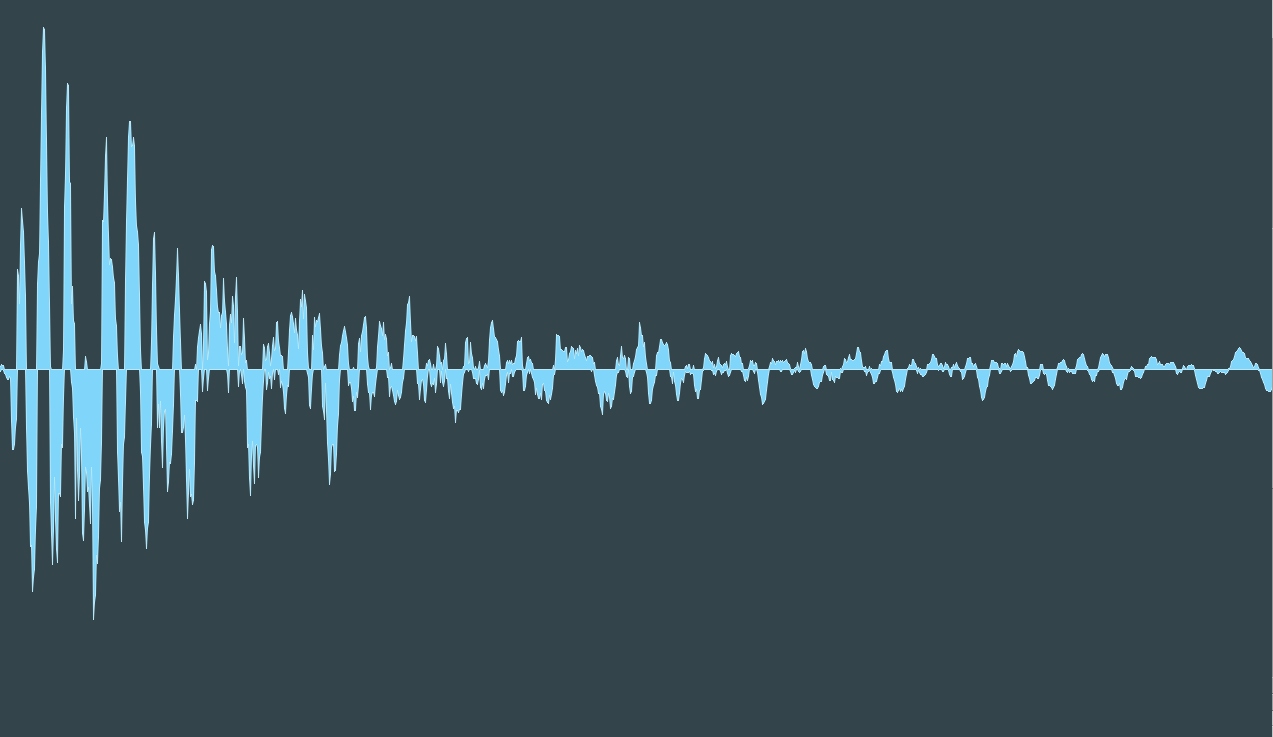
Transients are the attack portion of a sound. It’s what gives a snare its crack, or a kick its slap or thump. They are the lifeblood of punch and groove, and are necessary if you want your music to have maximum impact.
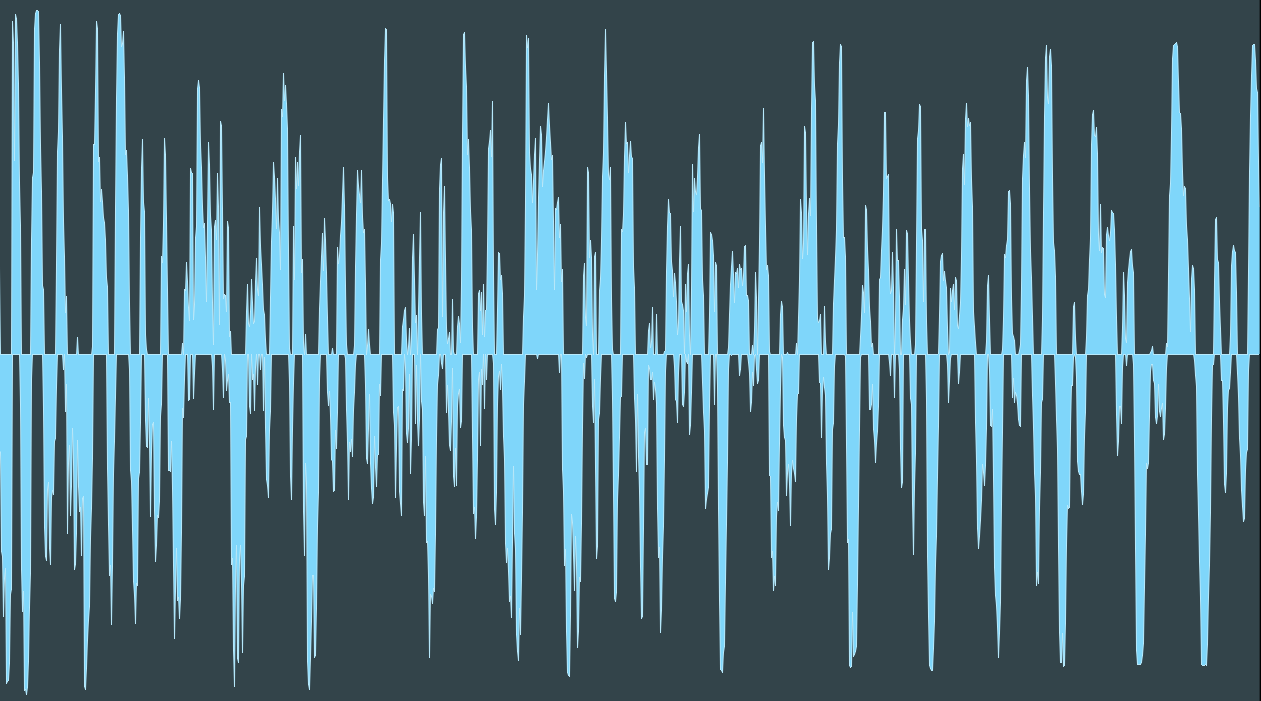
And here’s the same hit, this time slammed with compression.
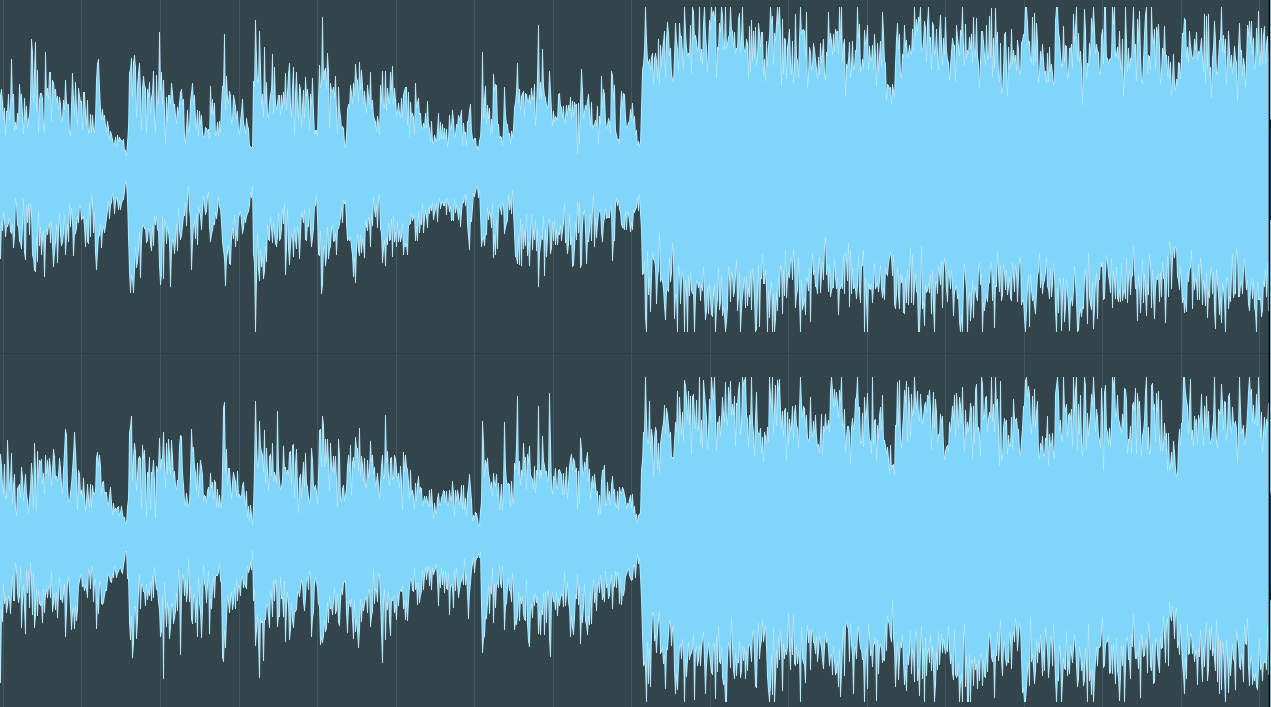
Headroom in a mix means the physical space left for the mastering process. You can see that in the image below there is very little space left (the darker area) for the mastering process to take place.
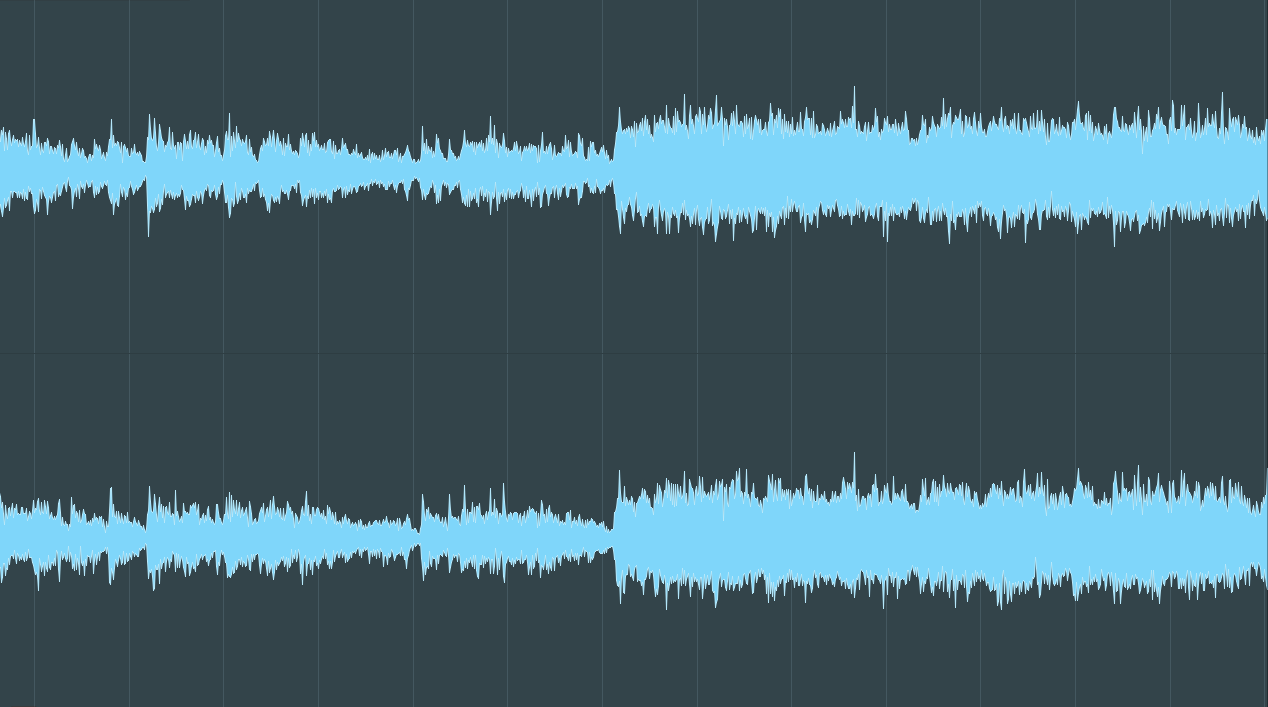
Here’s the same track mixed with lots of headroom. Notice how much space there is to work.
You will be able to see the waveform for your track when you upload it to Label Engine – make sure there is enough headroom and that the volume is never at maximum.
HOW CAN I MAKE ENOUGH HEADROOM FOR A LANDR MASTER?
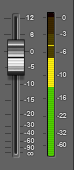
The trick here is to record and mix at sensible level – most mastering engineers will recommend you have your peak levels hit around -6dB on your master fader. This provides ample room for the mastering process.
Notice how the level on the master fader is peaking around -6dB.
LOUDER DOESN’T MEAN BETTER
When producing it’s far too easy to fall into the trap of thinking louder is better. While adding a limiter to your master channel will allow you to increase the volume without clipping, it’s harming your dynamics by flattening all of your transients.
A common mistake is to place a limiter on your master channel and then pull down your master fader to give -6db. The limiter is still flattening the mix, the only difference is that it’s now flattened and quiet. Remember that a master fader lowers the gain AFTER it hits the limiter, not before.
It’s important to note that a good mastering engineer would reject tracks sent to them that weren’t mixed in the optimal way, however with LANDR it is your responsibility to make this decision. Again, we recommend you review your waveform after you export and ensure it looks like the optimal image above.
WHAT’S THE SOLUTION?
The key is to not focus on volume or “loudness” at the mix stage. Instead try to make the volume of each element correct relative to each other. Ideally you should not have any plugins on your master channel. Your mix should sound exactly as you want the final version to sound, but quieter. Remember that mastering will not fix any problems in your mix – if the bass isn’t punching through enough or your percussion sounds flat, this is generally a problem with your mix and you should try to fix it before mastering.
You may choose to add a compressor or limiter during production in order to get an idea of how your mastered track may sound, just be sure to remove this afterwards. If removing the limiter changes the feel of the track, or prominence of an element, instead of overall volume level then you may need to think about mixing your track without it.
Dithering should always be turned off when exporting your track for mastering as it should only take place at the final stage.
WHAT FILES SHOULD I UPLOAD TO SUBMIT TO LANDR?
Label Engine allows you to upload wav, flac, aiff or mp3 files, however only tracks you upload in wav, flac or aiff format that are 16-bit or 24-bit can be submitted to LANDR.
The standard for CD quality tracks is 16-bit 44.1KHz, and this is the file format that LANDR masters are returned in. In order to achieve this quality the track you upload must be at a greater quality than this, and so for optimal results we recommend uploading 24-bit wav files.
You also have the option to submit your tracks at a sample rate of 48KHz – some people prefer a higher sample rate as it can lead to a smoother sounding mix, however for music distribution purposes 44.1KHz is required.
24-bit files or 16-bit files at 48KHz will be marked as PREMASTER in the system and you can choose to highlight these when selecting files to send to LANDR.
For more information on Mastering with LANDR please check our post at http://label-engine.com/blog/landr-mastering-announcement/